Myth's Samhain/Halloween Cemetery Cake
My version of this cake was inspired by the recipe, "Ghosts in the Graveyard Pudding Dessert," which involved
1) baking from scratch oval-shaped sugar cookies, 2) crushing up a package of Nabisco Oreo cookies, 3) mixing
chocolate pudding with whipped topping and adding in chocolate chips and half the crushed Oreo cookies for texture,
4) chilling the pudding for an hour while the oval cookies cooled and were then decorated with epitaphs ["RIP,"
"Ima Ghost," "M T Grave," etc.] and 5) finally, when the pudding had chilled, the rest of the crushed Oreo cookies were
spread on top as graveyard dirt, the cookie tombstones were inserted and ghosts were sculpted out of more whipped
topping. (One person told me she added a step by mixing in gummy worms down into the pudding under the grave yard
dirt.) The whole recipe sounded like an awful lot of work--especially for a dessert that had to stay cold, and thus hidden,
in a fridge until just prior to being served.
Chatting with a cake-baking relative in the 1990's about "Ghosts in the Graveyard Pudding Dessert," she commented to
me that it seemed like it would be easier to bake sheet cake instead of making a complicated pudding. I realized I could
also buy a small box of oval-shaped cookies and use those to quickly decorate the frosted cake to resemble a graveyard
along with festive Halloween candies. This Cemetery Cake could be set out on the party table prior to the feast.
I made my first Cemetery Cake around Halloween 1998 or 99. Some assistance in decorating the
cake by young friends
convinced me that this is an excellent cake to to use as a "funtime seasonal activity with
children." Thus, it is an ideal activity to be part of a community Samhain in celebration at
which children are present. The decorated cake will
never look exactly the same twice--which is part of its charm.
Cake ingredients:
- 1 pkg. (18.25 oz.) of favorite cake mix
- plus whatever ingredients the cake box package calls for (water, oil/butter, eggs, etc.)
[I often make chocolate cake or yellow cake. (In particular, I like Duncan Hines Moist
Deluxe Swiss Chocolate Cake Mix.)]
I often add the following ingredients to a chocolate cake mix:
- 1/2 teaspoon vanilla extract
- pinch of ground clove [peace], nutmeg [luck], and/or cinnamon [success]
- 1 drop of honey [sweetness during the turning of the Wheel of the Year]
- all stired in clockwise into the batter with love
Purchase all items for decoration prior to baking.
Preheat oven as suggested on the cake box package.
Mix together cake mix, and whatever ingredients the cake box package calls for (water, oil/butter, eggs, etc.) according to
package directions. Bake batter in a rectangular or square sheet cake pan, according to the cake box package. I simply
leave the baked cake in the cake pan to be decorated and served--so I advise choosing whether you are using a glass or
decorative foil cake pan with that point in mind.
Do not spread frosting on cake until cool.
Organize items to create and decorate the cemetery. Have everything ready and set up when you gather the children for
this activity. Have all children wash their hands or wipe their hands with sanitizer just prior to decoration.
Creating and Decorating the Cemetery:
(This bit is the really fun part!)
- 1 can of milk chocolate frosting
- approximately 1 teaspoon ground clove lightly sprinkled over the spread chocolate frosting to give frosting a dirt-look
as well as a slight spice flavoring (optional)
- 6 -10 Pepperidge Farm Milano cookies (I always try to get the seasonal "pink" bag of Pepperidge Farm Milano
cookies supporting the "Susan G. Komen for the Cure" charity)
- approximately 1/8 or 1/4 cup orange, red, and yellow colored leaf shaped sprinkles
- approximately 1/8 or 1/4 cup white/whitish colored bone shaped sprinkles (a couple of times I had sweet tart like
bone shaped candies which could be assembled into skeletons)
- 3-6 ghost-shaped Peeps marshmallows (one may likewise use Peeps marshmallow pumpkins or cats)
- 1-5 gummy pumpkins
- cinnamon stick(s) to be dead tree stumps (optional)
- brown licorice sticks to be dead trees (optional)
- gummy bug shaped candy (optional)
- candy bats or spiders (optional)
- meringue ghosts (optional, can be used instead of ghost shaped Peeps marshmallows)
- Nabisco Social Tea Biscuits to be rectangular gravestones (optional)
The oval-shaped Pepperidge Farm Milano cookies can resemble standing gravestones. I never
bother to try to write
epitaphs on the cookies--because I assume these gravestones are so old the inscriptions have
become illegible with time. Also the children won't accidentally smudge the epitaphs when
they decorate.
To add some rectangular shaped gravestones, use Nabisco Social Tea Biscuits or other
similarily shaped cookies.
You--as "the Adult"--ought to have already placed a) cookies, b) ghost-shaped Peeps
marshmallows, c) orange, red, and yellow
colored leaf shaped sprinkles, d) white/whitish colored bone shaped sprinkles, and e) any
other decorations in separate little
dishes for children to share and help create and decorate the cemetery.
You--as "the Adult"--press 1/2 of a cookie down into cake and frosting. Lightly sprinkle ground cloves over the spread
chocolate frosting--if desired.
Then you--as "the Adult"--set 1 ghost-shaped Peep marshmallow standing up on cake. Add a few orange, red, and
yellow colored leaf shaped sprinkles and a few colored bone shaped sprinkles to the cake. If you do this in front of the
children, they will quickly perceive how easy it is to create and decorate the cemetery.
Then you--as "the Adult"--monitor the activity as the children decorate and create, but let them decide what, how, and
where to put which items. I've done this activity with up to 5 children. Actually, 4 children
is a better number. If you know you will have more children, I suggest
you make a second cake.
One year, I had a boy insist the bones must be sticking up out of the graves, because the
skeletons were rising from the earth.
Another year, a pair of older children carefully picked out matching bones and pieced them
together like a puzzle resembling two full skeletons laying down in the front of the
cemetery. It looked like they had been walking or standing.
One year, one of the girls artfully arranged huge piles of colored leaf sprinkles around the gravestones. One
boy arranged small candy pumpkins a top the gravestones. Etc.
No matter what, the result will be fun and wonderful. Even if you have a very young group and
all the cookies are lop-sided
and falling down, it doesn't matter. Remember, that particular tumbled down cemetery could be
a really old, dilapidated graveyard.
Presentation:
Display the finished product prominently at the feast. Make certain all the other "Adults"
admire this piece of food art.
|
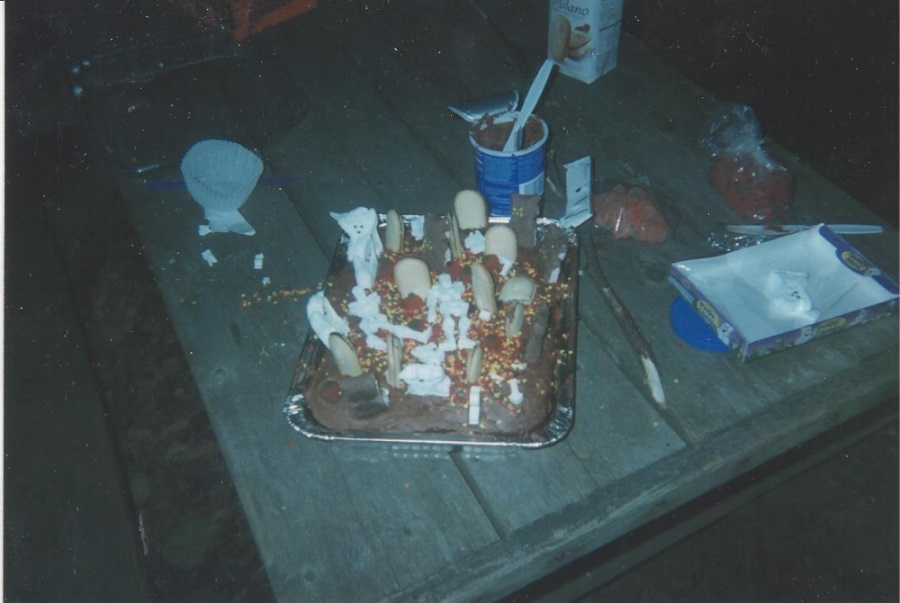
Above, I mentioned that a pair of older children had carefully picked out matching candy
bones and pieced them together like a jigsaw puzzle. The result was two full skeletons
laying down in the front of the cemetery. I was surprised to recenly locate a copy of
this photo in the bottom of a box. It was taken circa 2004 at CPC's Samhain, held at
Hard Bargain Farm in Southern Maryland. As you can see, it does look like the skeletons
had been walking or standing. Photo added 2018.
|
copyright October 2011 Myth Woodling
Pepperidge Farm Milano Cookies "Go Pink" in Support of Susan G. Komen for the Cure
Our Milano cookie... Facebook
Practical Celebration Recipes and Preps
"Another Wicca..." home page