 |
How to Make a Pumpkin Jack O' Lantern
aka Pumpkin Lantern |
Painted, drawn on with permanent markers, or carved, decorating pumpkins is a wonderful fall activity, which is practiced by many,
particularly in the USA.
Carving pumpkins for Halloween or Samhain can be a special seasonal family activity. It can also be an extra fun
activity at an open Samhain event.
As always, "Safety first!" As young children should not be allowed to handle sharp knives, those adults--who are
worldly, wise, and safety conscious--will have to do the actual carving.
Note: Adults could and should take the opportunity to explain safety concerns about sharp knives, fire safety--if a lit candle will later be placed in pumpkin, etc.
Young children can be encouraged to help scoop out the squeeshy gooey pumpkin insides with a spoon or their hands.
Tip: dress the little ones in old clothes for this activity. Better yet, have a child wear an adult sized tee shirt over her/his old clothes as a smock.
Older children may be permitted to do some of the carving, depending on their age and hand coordination--with
strict supervision. (I cannot in a
"how to" article possibly advise a parent at what age it would be "safe" to allow her/his child to handle a sharp
knife--as I've known some 18 years olds, and even
adults well over 21, who cannot seem to be able to chop vegetables in a kitchen without periodically ending up in the
emergency room for stitches.)
|
How to Carve a Pumpkin Jack 'O Lantern
Supplies
1 Pumpkin
1 Medium Serving Spoon
1 Medium Sharp Knife
1 Small Sharp Knife
1 Sheet of paper for making a carving pattern
Newspaper
Medium bowl
1 Pencil or Permanent marker
1 Glow stick, or more traditionally 1 candle
and matches, per pumpkin
|
 |
Instructions
- Choose a firm pumpkin with at least one side that has a smooth, blemish-free face.
You ought to purchase a "Jack O' Lantern pumpkin," "decorative pumpkin" or "field pumpkin" (either a Cucurbita pepo or
Cucurbita maxima).
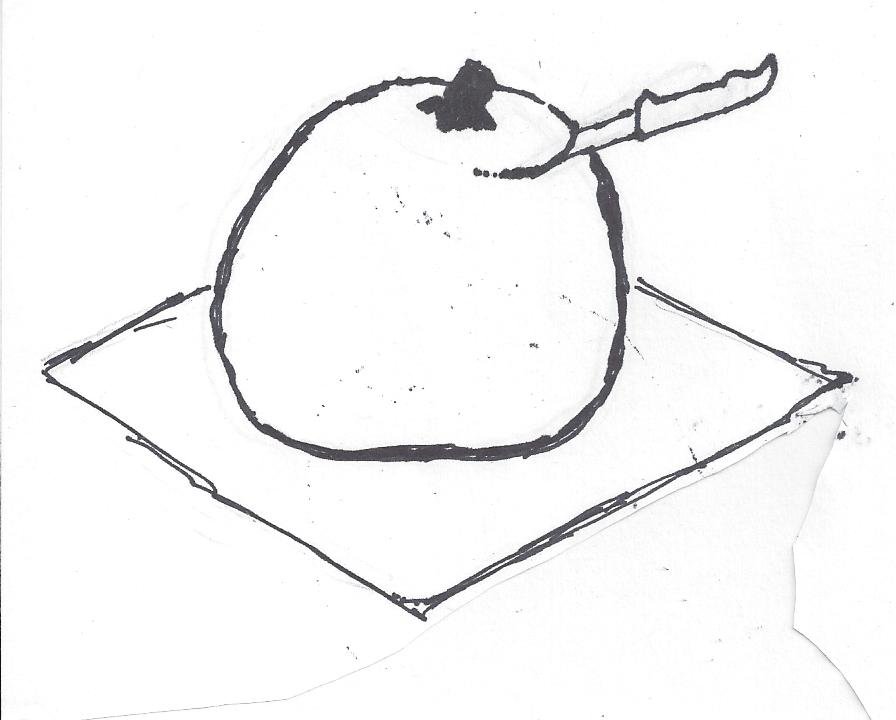
- Spread newspaper on sturdy, flat surface. Place the pumpkin on it.
- Using the medium sharp knife, cut a lid for the pumpkin. Cut with an inward slant, so the lid will stay firmly in place. Start near what will be the back side, about 3
or 4 inches from the stem and slowly work your way around the top. After complete the circle, cut a small notch to make a what my Mom called a
"chimney hole."
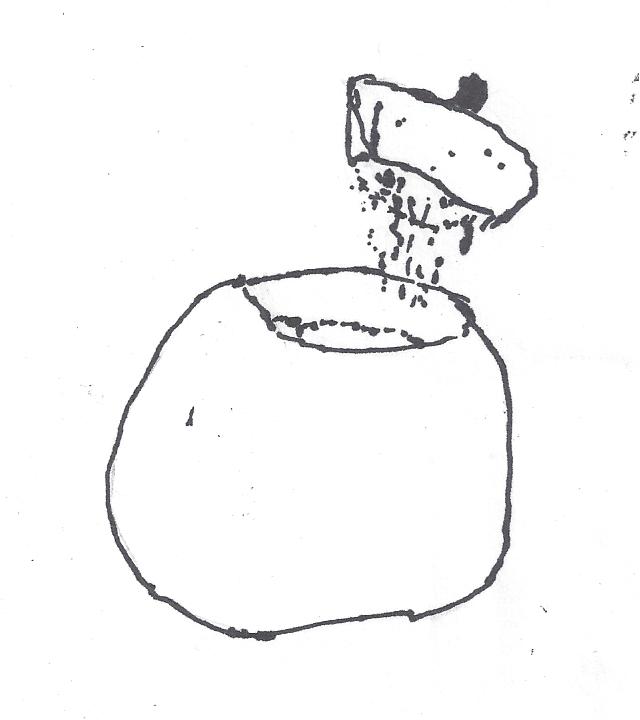
- Pull the pumpkin's lid off. It may take a strong tug to pull it free as the stringy seeds are still connected on the inside. (This step is one that kids of most any
age can be invited to do.)
- Scoop out the seeds and the rest of squeeshy gooey pumpkin insides by hand. (I adored this part as a child, and the
smell of a fresh cut pumpkin still brings back sweet memories.)
- One of the kids can separate the seeds from the squeeshy gooey insides.
The seeds can be saved, washed, and put aside. Pumpkin seeds have a number of uses.
(a) These seeds can later be toasted
(Toasted Pumpkin Seeds) and enjoyed as a yummy snack.
(b) They can be dried and glued on paper for seasonal
artworks.
(c) Depending on where you live, plain pumpkin seeds can be left outside as treat for the other local wildlife (squirrels, birds, etc). My Mom was a
long time "birder" and member of the Audubon Society. Some of our leftover pumpkin seeds were always left out by the backyard bird feeder. As a child, I
often watched the squirrels feasting on them.
(d) Allegedly, pumpkin seeds have magical uses as well. As reported by Lucina Carmenta in
Herbs & Magical
Properties the following magickal properties are
ascribed to pumpkin seeds: "Pumpkin & Pumpkin Seeds: Healing, divination and used to honour the Moon."
See All Hallow's Pumpkin Seed Divination.
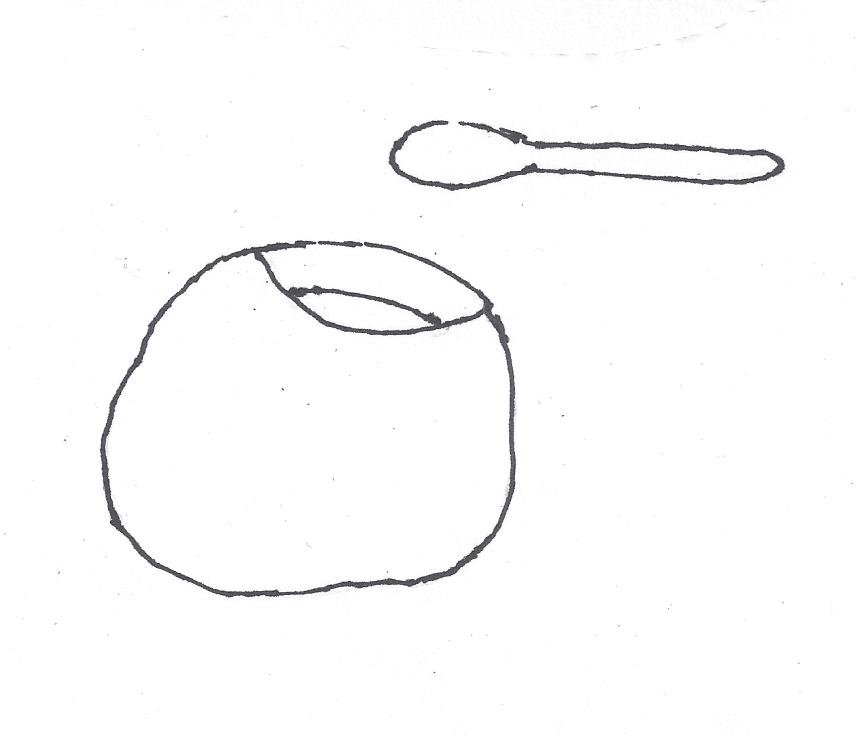
- Scrape the inside walls with a spoon. The inside walls must be scraped clean. Any leftover stringy bits could block
the light shining out through your carved design.
- Cut the stringy bits off from the pumpkin lid.
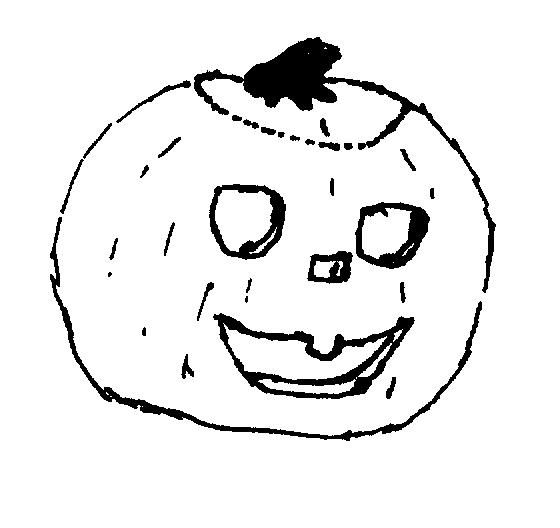
- On the paper, draw the design. The grinning tooth Jack O' Lantern is a classic. Other designs abound.
- Cut out the shapes for the design. Tape or pin them on. Trace around then with a pencil or the marker.
- Use the small knife to carefully cut out the shapes. Work into the corners and curves carefully to ensure a neat finish.
- My Mom always sprayed the inside of the pumpkin with Lysol disinfectant spray brand to slow it down from spoiling
rapidly due to mold. (Another
person once told me she did something similar with bleach, but I think that would thoroughly kill that lovely pumpkin
smell).
- Put a candle or glow stick inside the pumpkin. If you put a lit candle in a pumpkin, be mindful of where the
pumpkin sits. The pumpkin must not be near anything flammable, or
where people might brush against it with costumes, garb, or long clothing. If you have any doubts about fire safety,
use a glow stick instead. As always--"Safety first!"
How to Paint a Pumpkin Jack O' Lantern
Supplies
Paint brushes, large for big pumpkins, small for little pumpkins
Cups of water to rinse brushes
Wet-wipes for wiping children
Roll of paper towels for wiping children and pumpkins
Non toxic tempera paints, suggested colors: purple, red, yellow, green, brown, black, and white
Newspaper
1 Permanent marker for writing the artist's name on the bottom
Optional: Glitter, yarn, google eyes
Each kid must have a smock or large adult tee shirt to protect clothes.
Instructions
- Choose a firm pumpkin with at least one side that has a smooth, blemish-free face.
- Remove any dirt or dust, by wiping the pumpkin with a damp cloth or wet-wipe. Dry gently with a paper towel or cloth.
- Spead newspaper on sturdy flat surface. Set pumpkin on it.
- The design can be painted exactly as on any other surface. the only difference is that you're painting on a large vegetable. Some people use stencils.
Others use a pencil to mark the outline of designs. Actually, painting free hand is wonderful.
- Clean children as needed.
How to Draw on a Pumpkin Jack O'Lanturn
Supplies
Assorted colors of permanent markers
Newspaper
Wet-wipes for wiping children
1 Permanent marker for writing the artist's name on the bottom
Optional: Glitter, yarn, google eyes and glue
Each kid must have a smock or large adult tee shirt to protect clothes
Intructions
- Choose a firm pumpkin with at least one side that has a smooth, blemish-free face.
- Remove any dirt or dust, by wiping the pumpkin with a damp cloth or wet-wipe. Dry gently with a paper towel or cloth.
- Spead newspaper on sturdy flat surface. Set the pumpkin on it.
- Draw and color designs on pumpkin with the markers
- Clean children, if needed.
The finished pumpkin can grace the outside of one's home or be a part of the seasonal decorations for a coven
Samhain ritual or an open community ritual.
For a Samhain ritual, a small carved pumpkin might be one of the seasonal decorations upon the altar. Other pumpkins
might sit around the circle and/or at the four quarters.
Someone once fussed at me via the internet for saying that Wiccan covens use pumpkins as part of Samhain celebrations,
because his/her coven did not. I explained that it was possible that the use of pumpkins was a regional Maryland
custom. I added that other covens in this area, back into the 1970's, had pumpkins at their Samhain rituals as
seasonal decorations. We do grow a lot of pumpkin in Maryland...perhaps that has something to do with it.
copyright 2013 Myth Woodling
How to Make a Turnip Jack O' Lantern
Jack of the Lantern
A Tale for Carving Pumpkins
Practical Celebrations and Preps
"Yet Another Wicca..." home page